Lighting
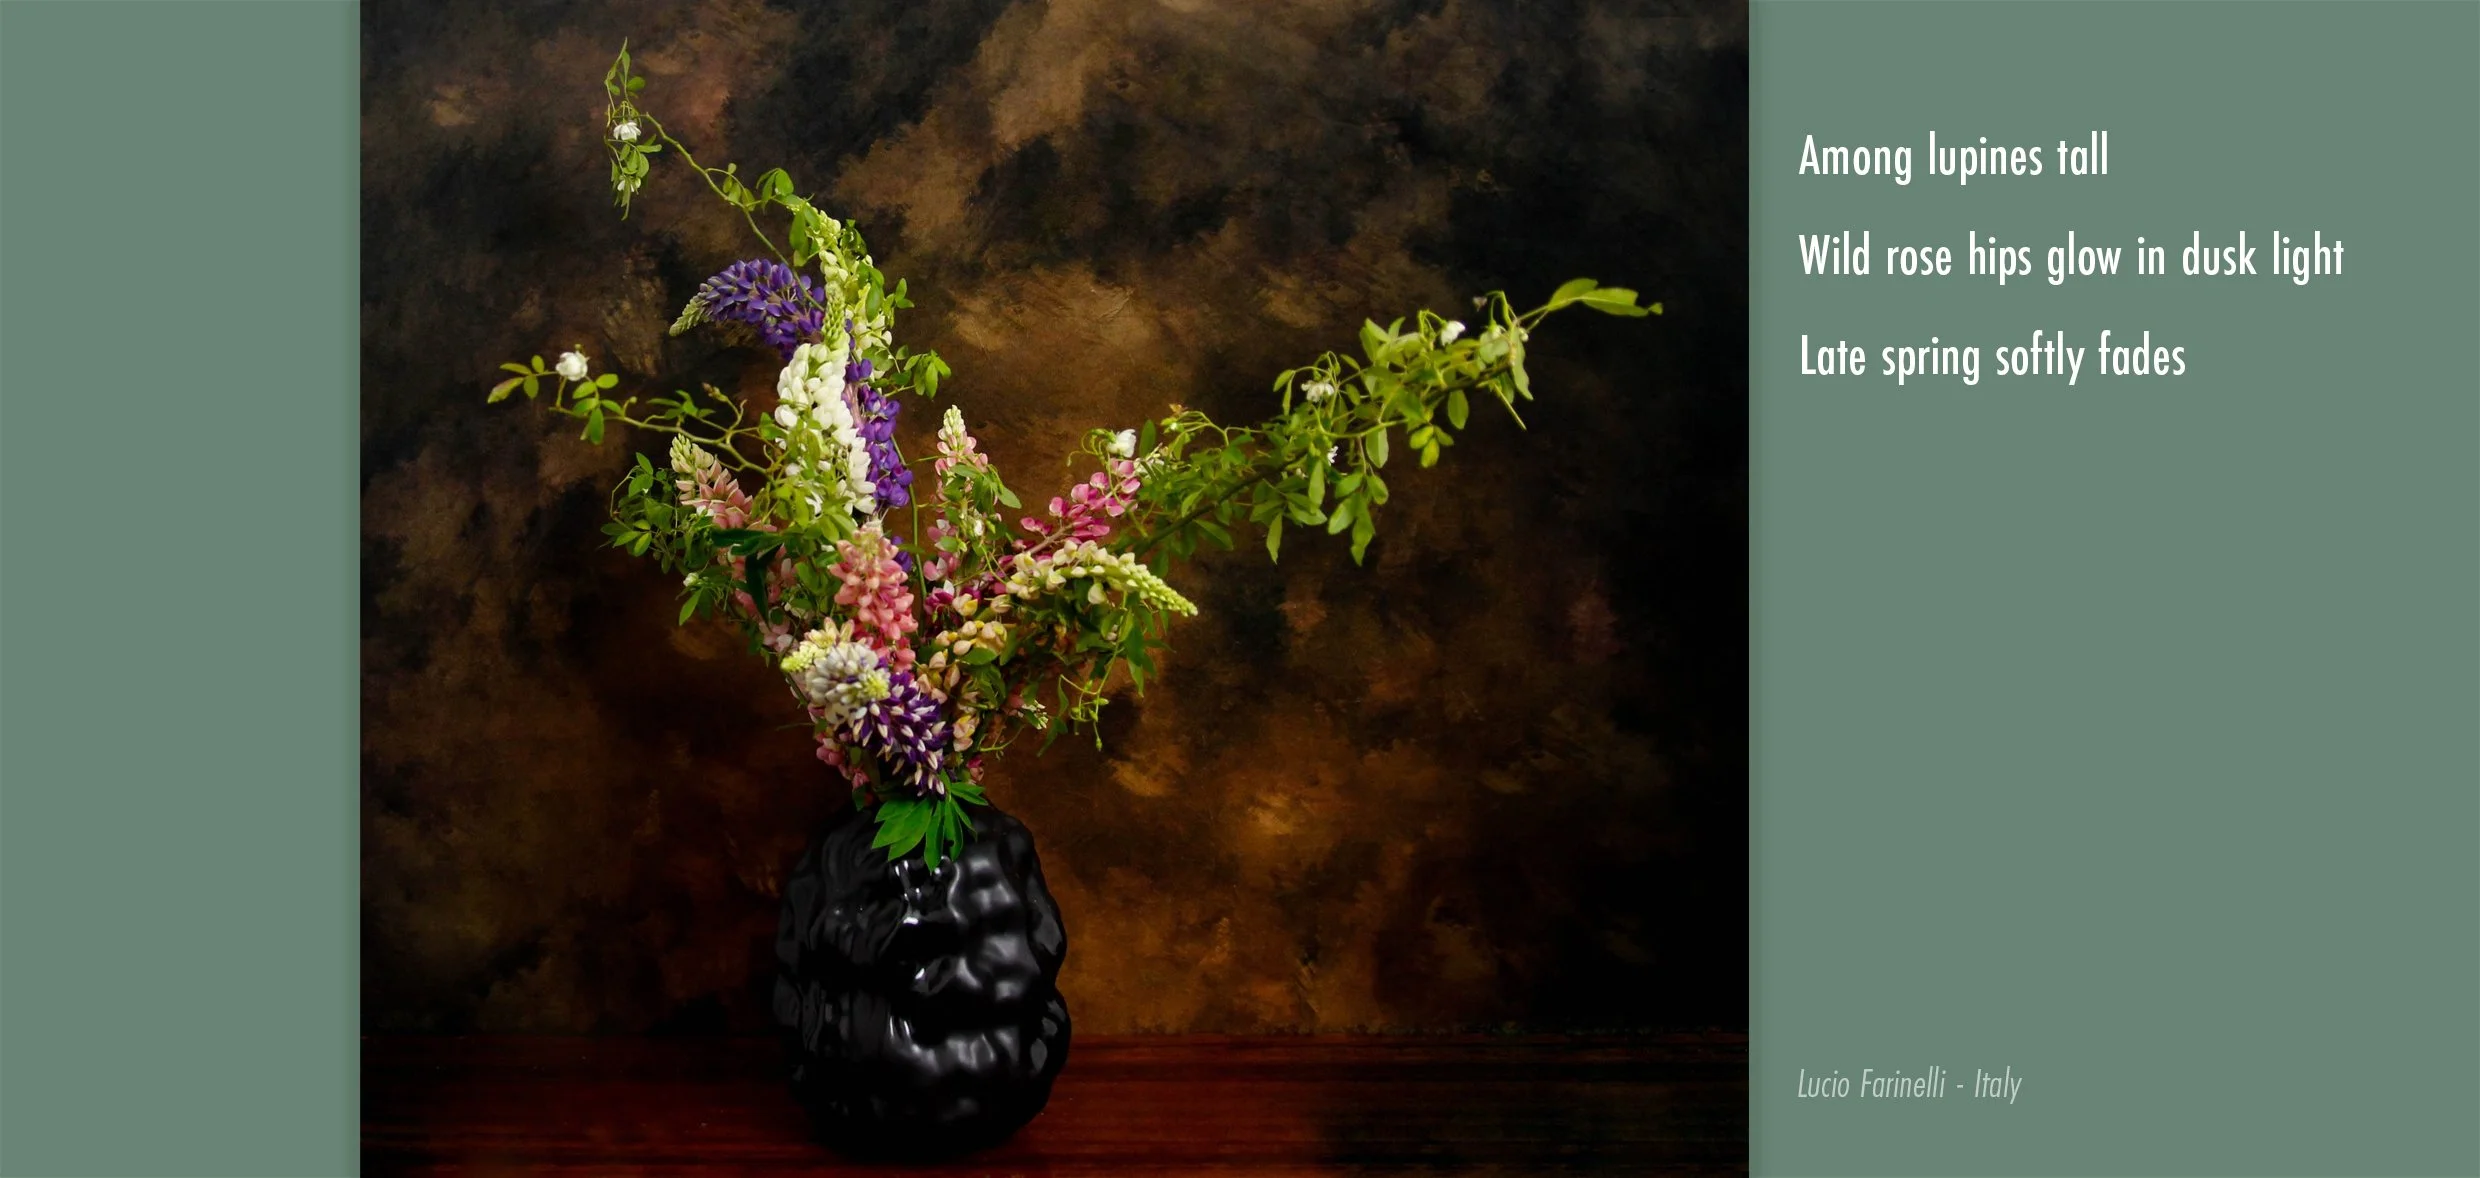
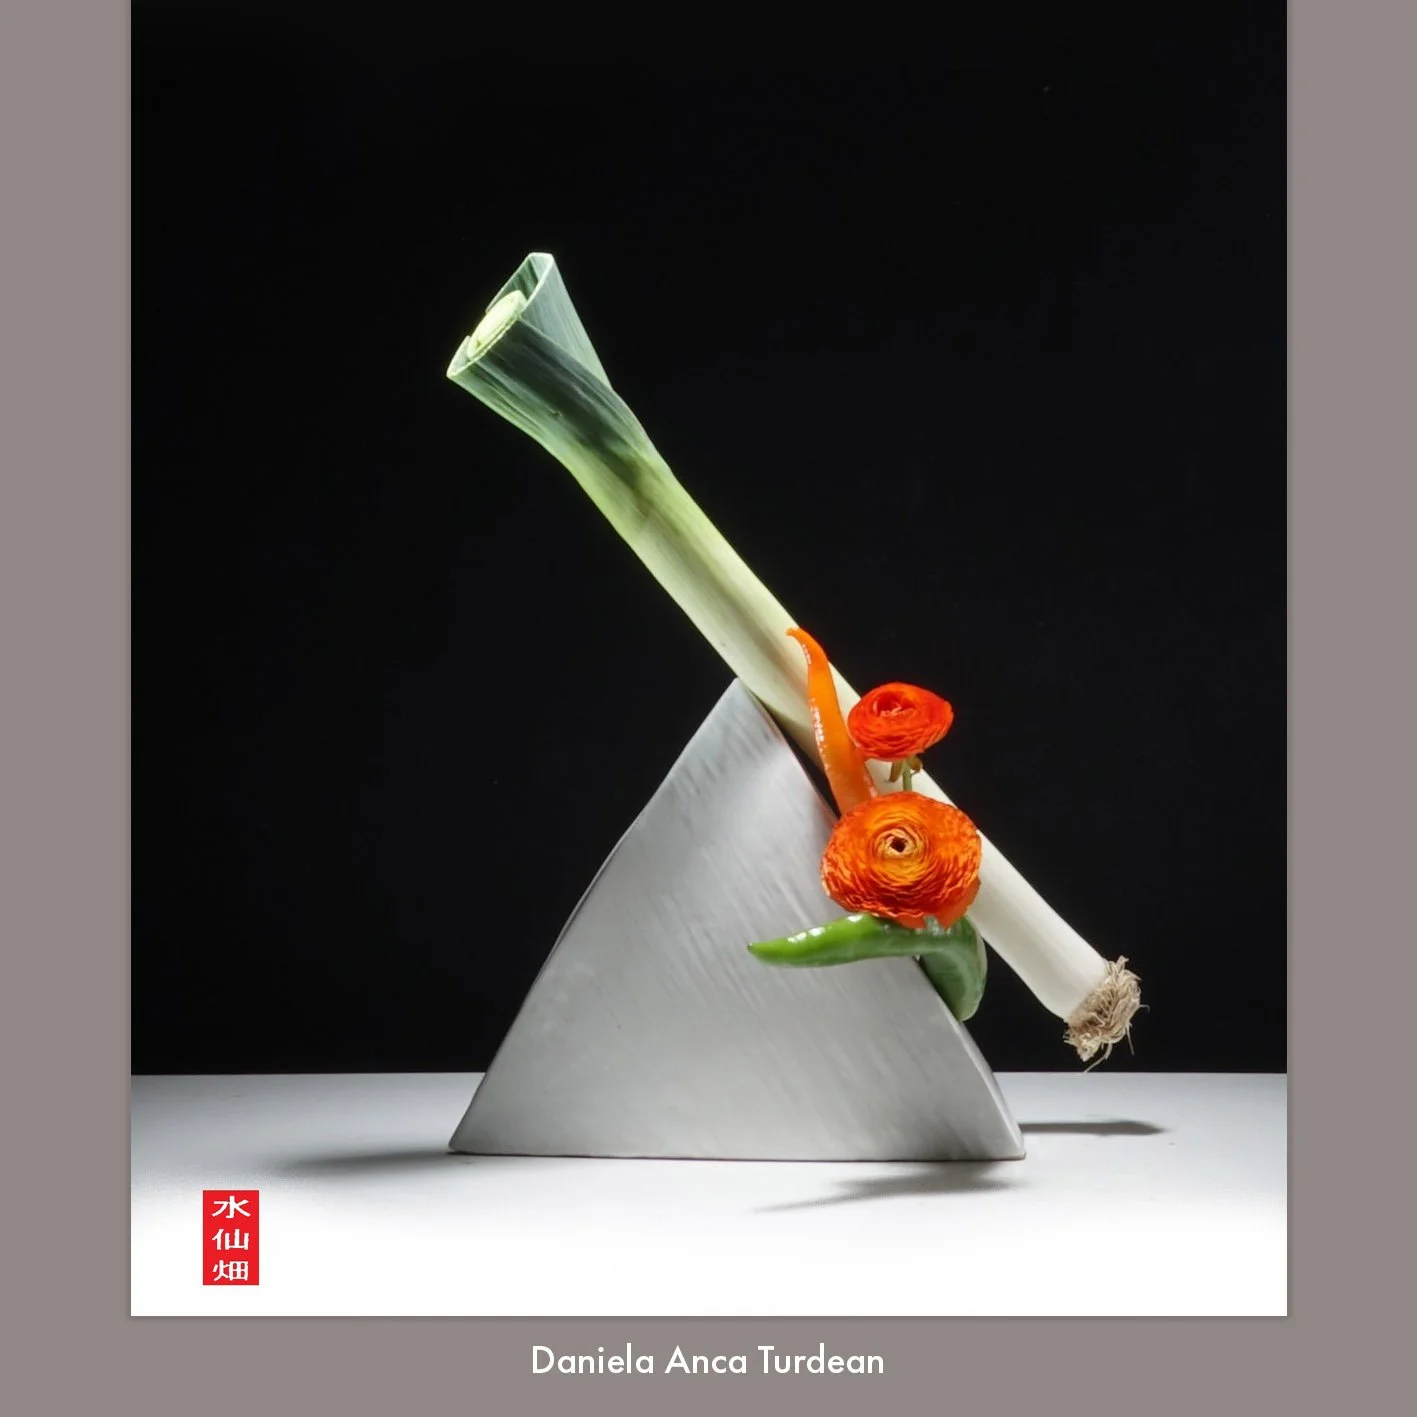
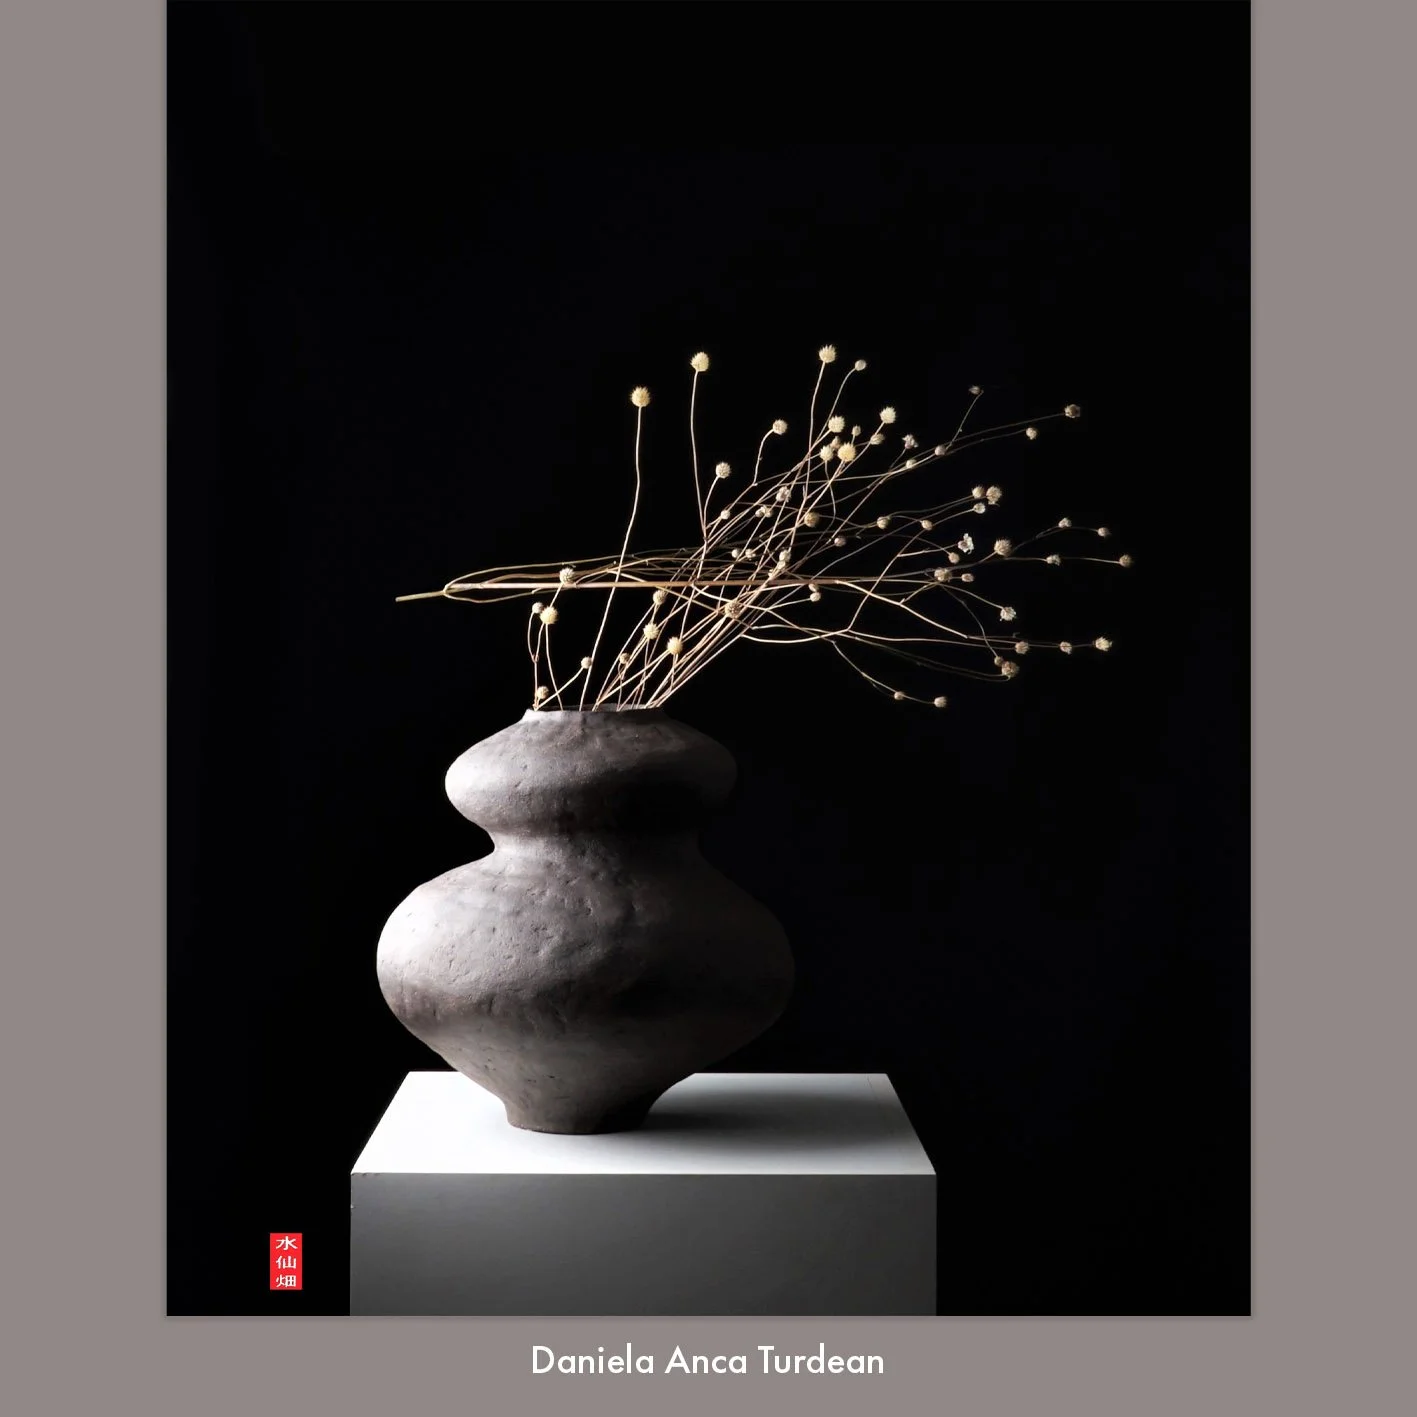
First and foremost, DO NOT USE FLASH. Flash photography will flatten out the image and make highlights and shadows much more hard edged and distracting, this should be avoided. Diffuse or indirect natural light is great for photography and strong direct light is not so good. Ideally some general overall light is a great place to start. This can be from a natural source such as daylight through the windows or an artificial source such as the lights you might generally have in the ceiling of the room. An important thing to keep in mind is that your should still be able to make out some level of detail in even the deepest shadows as well as in the brightest highlight (even if only just). It’s important to avoid black blobs and white holes as these can be very distracting and produce shapes and edges that detract from the overall photo.
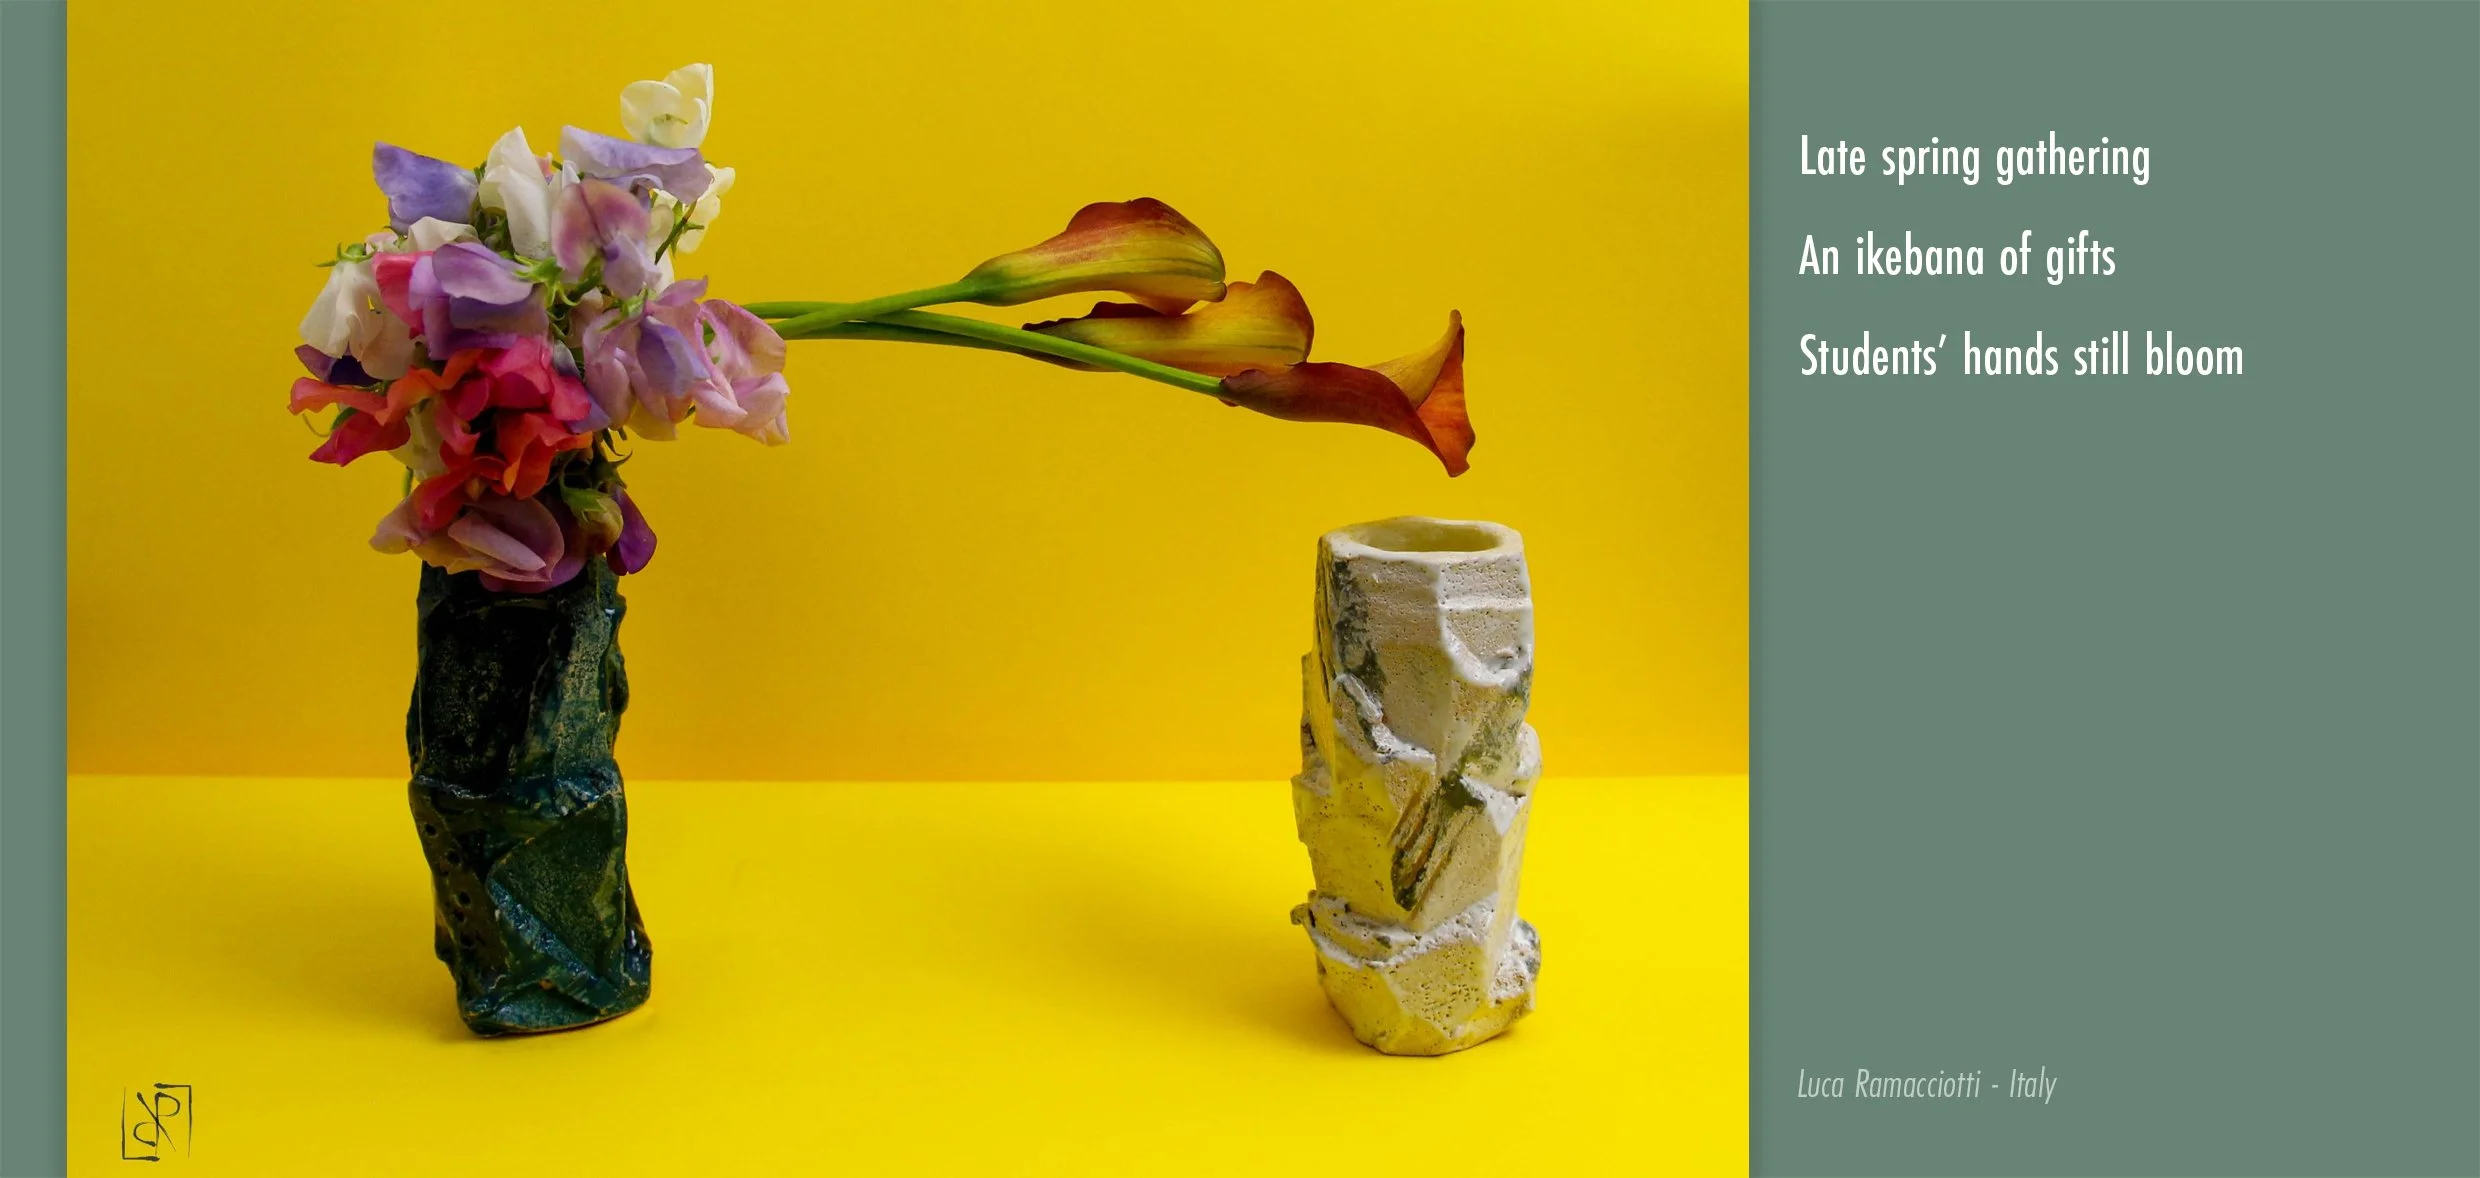
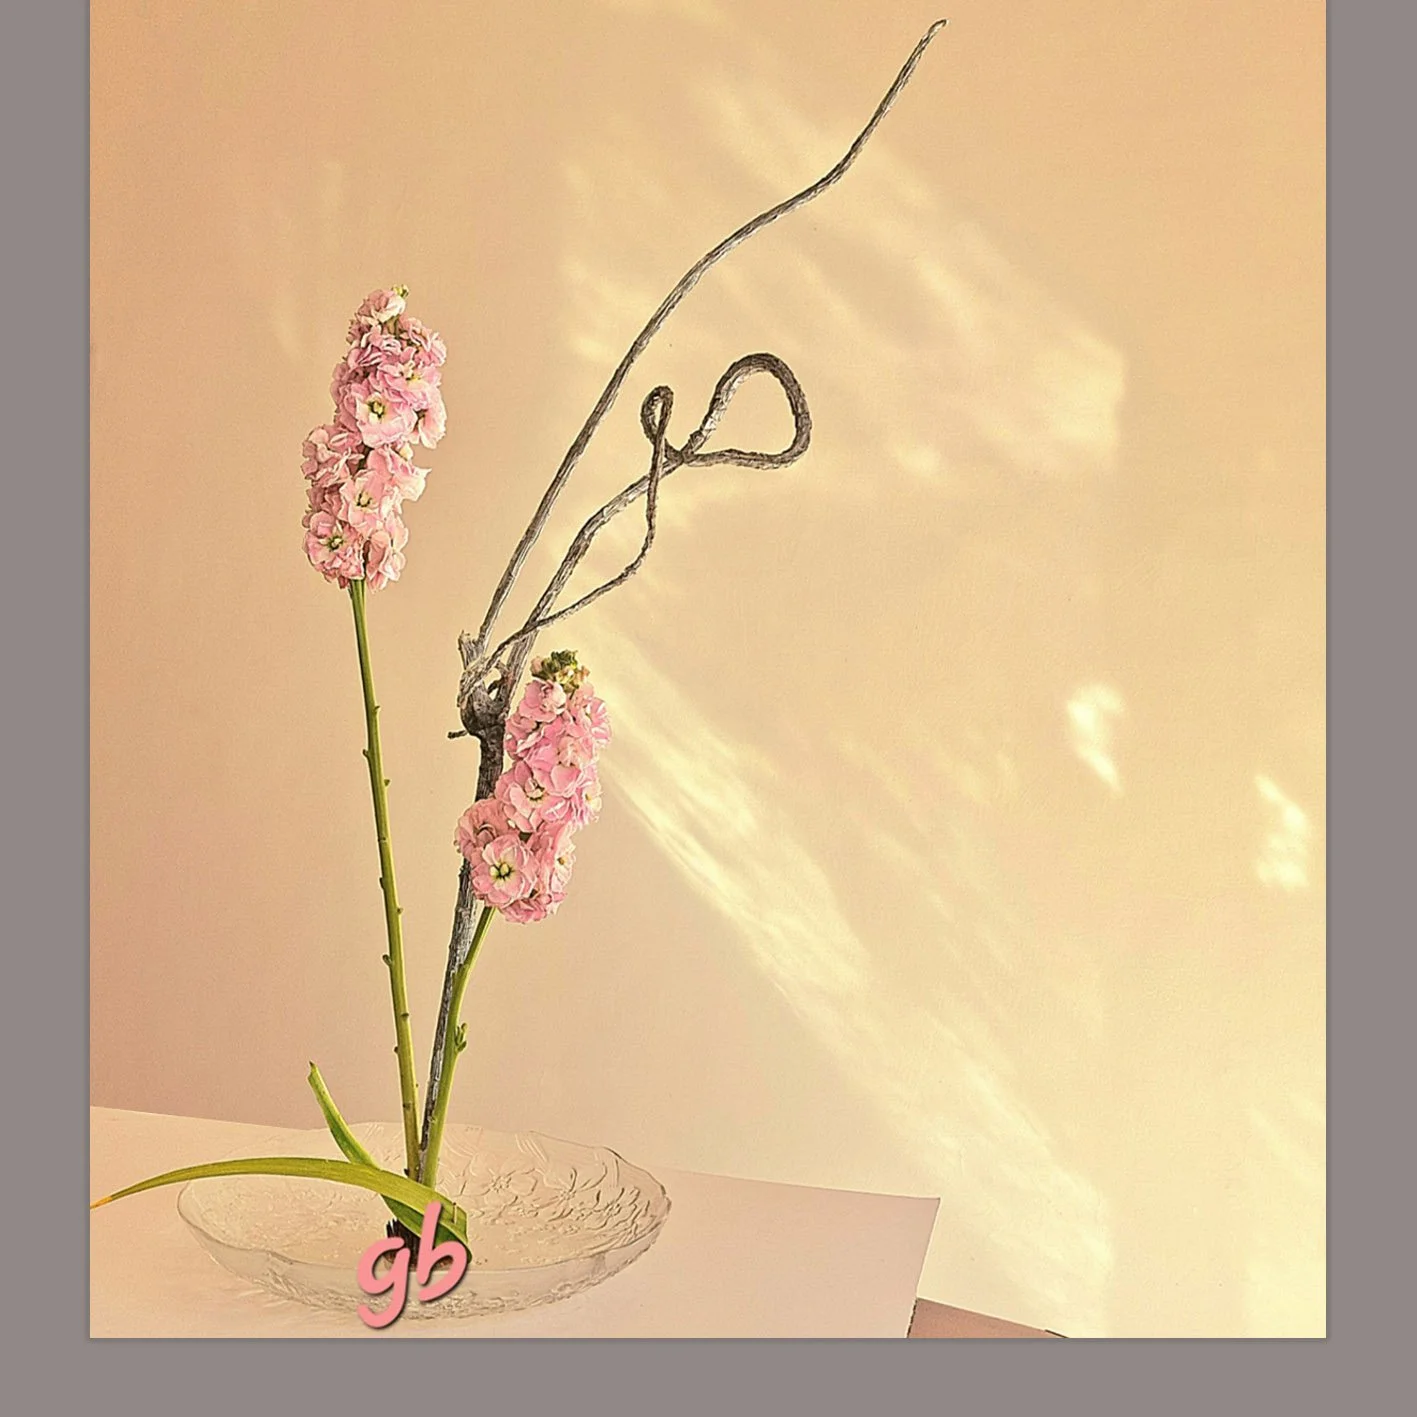
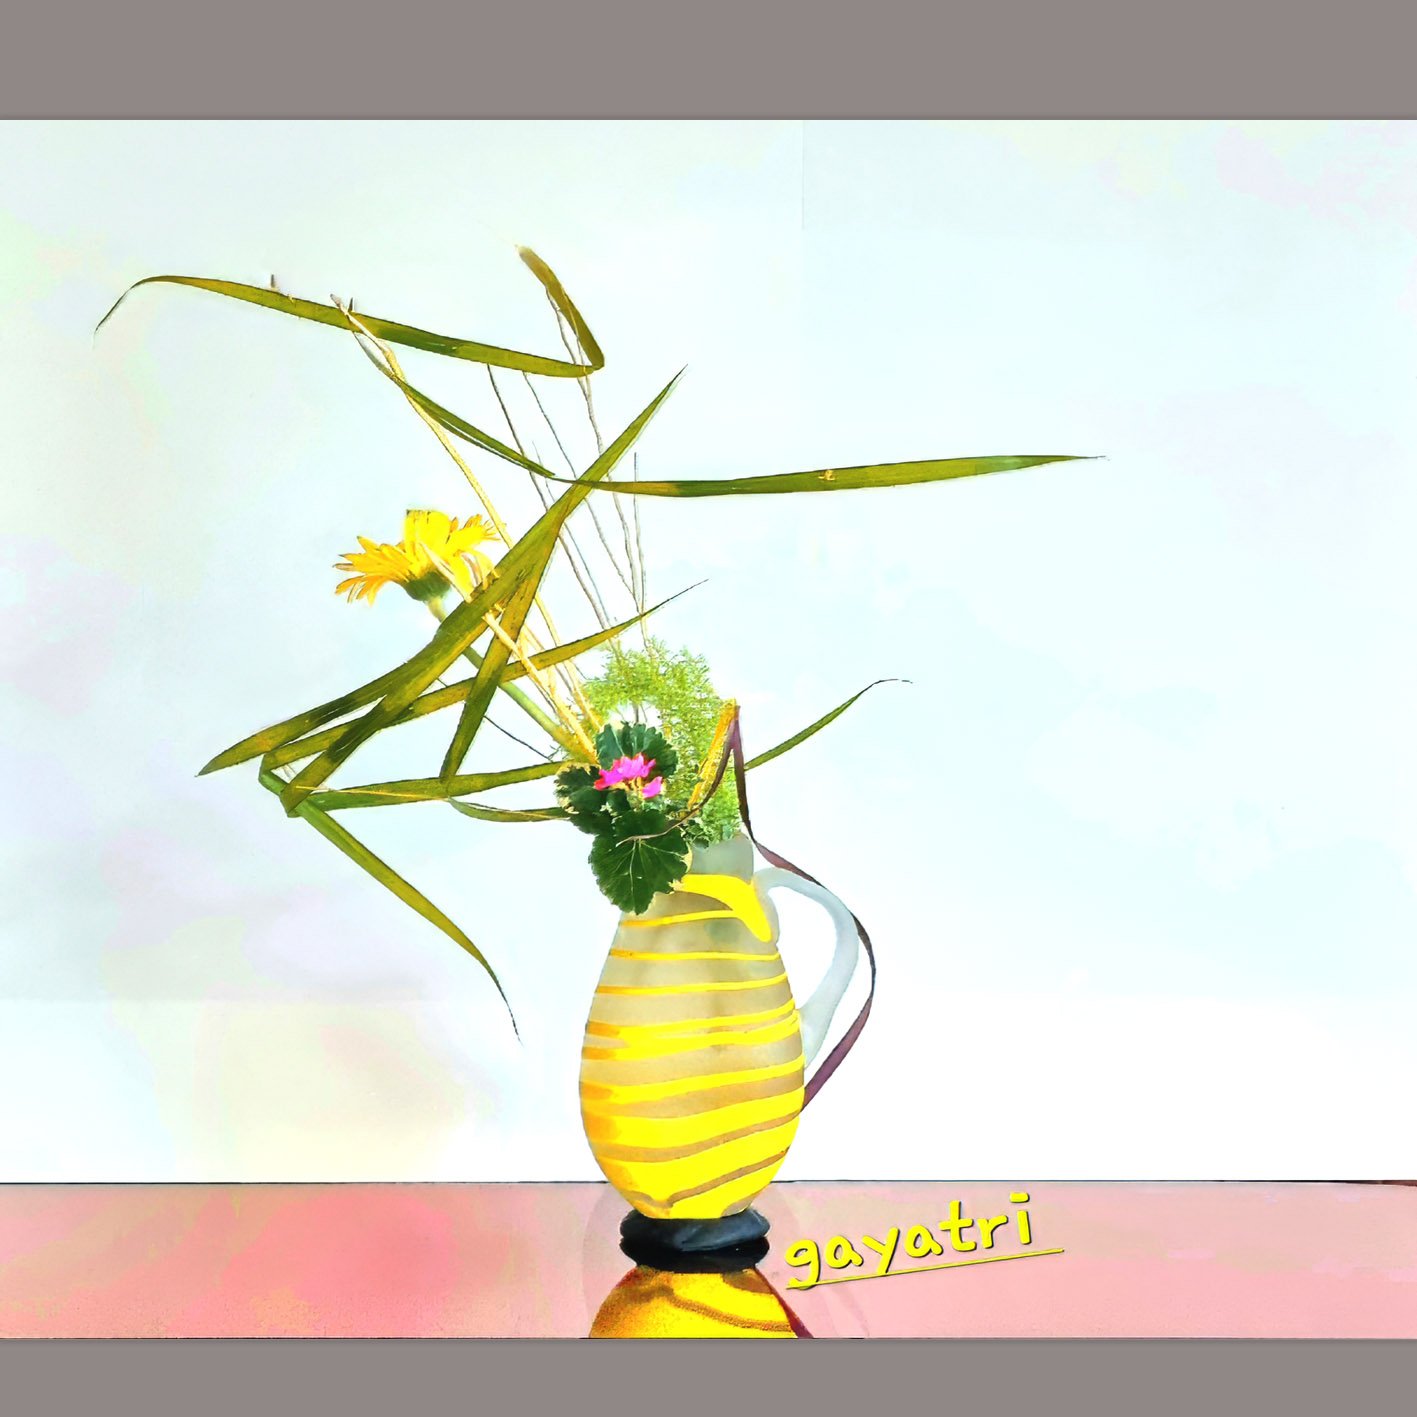
It is helpful to keep in mind that light has a temperature. It can be warm, neutral or cool. Natural light in the middle hours of the day tends to be neutral and as we move towards late afternoon the light takes on a warmer temperature and colour. Artificial lights also have a temperature and colour. Most homes have warm lights as these tend to make us feel cosy and confortable and tend slightly towards yellow, office and classroom lights are often flourescent and have a cool temperature tending slightly blue/green or grey. Daylight bulbs are available in some stores and though they seem blue are in fact the most neutral. The temperature and colour of light may be hard or expensive to change in terms of the lights you have access to in your home or at the local store however most mobile devices will alow you to download an app where this colour temperature can be adjusted. In any case it is something to be mindful of in your ikebana photography as it can change how certain colours appear in your images.
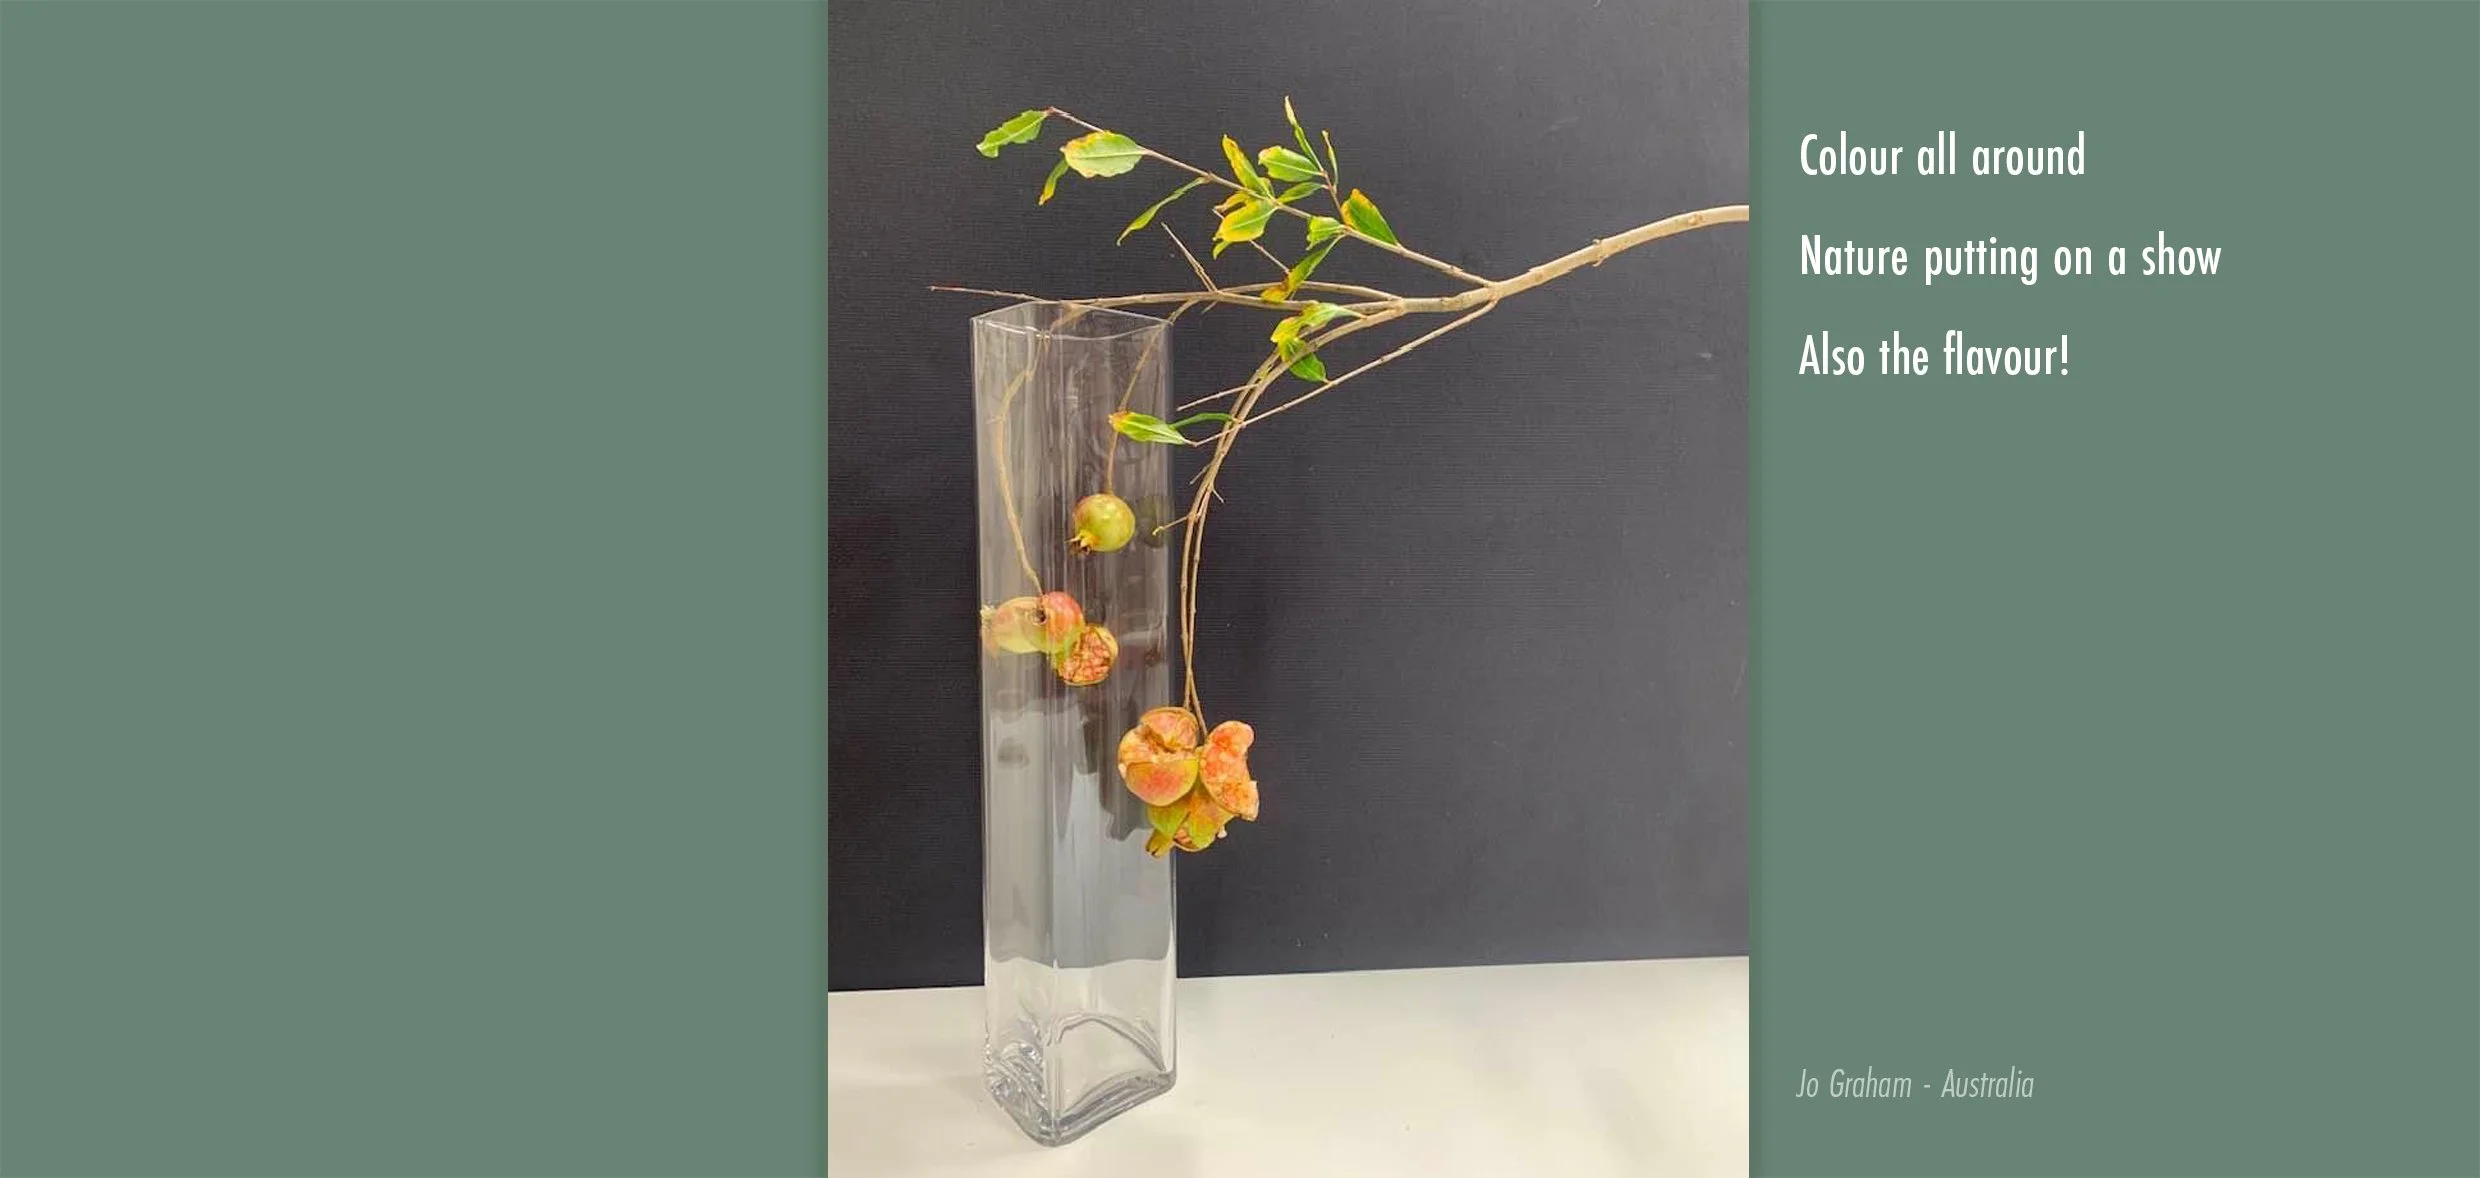
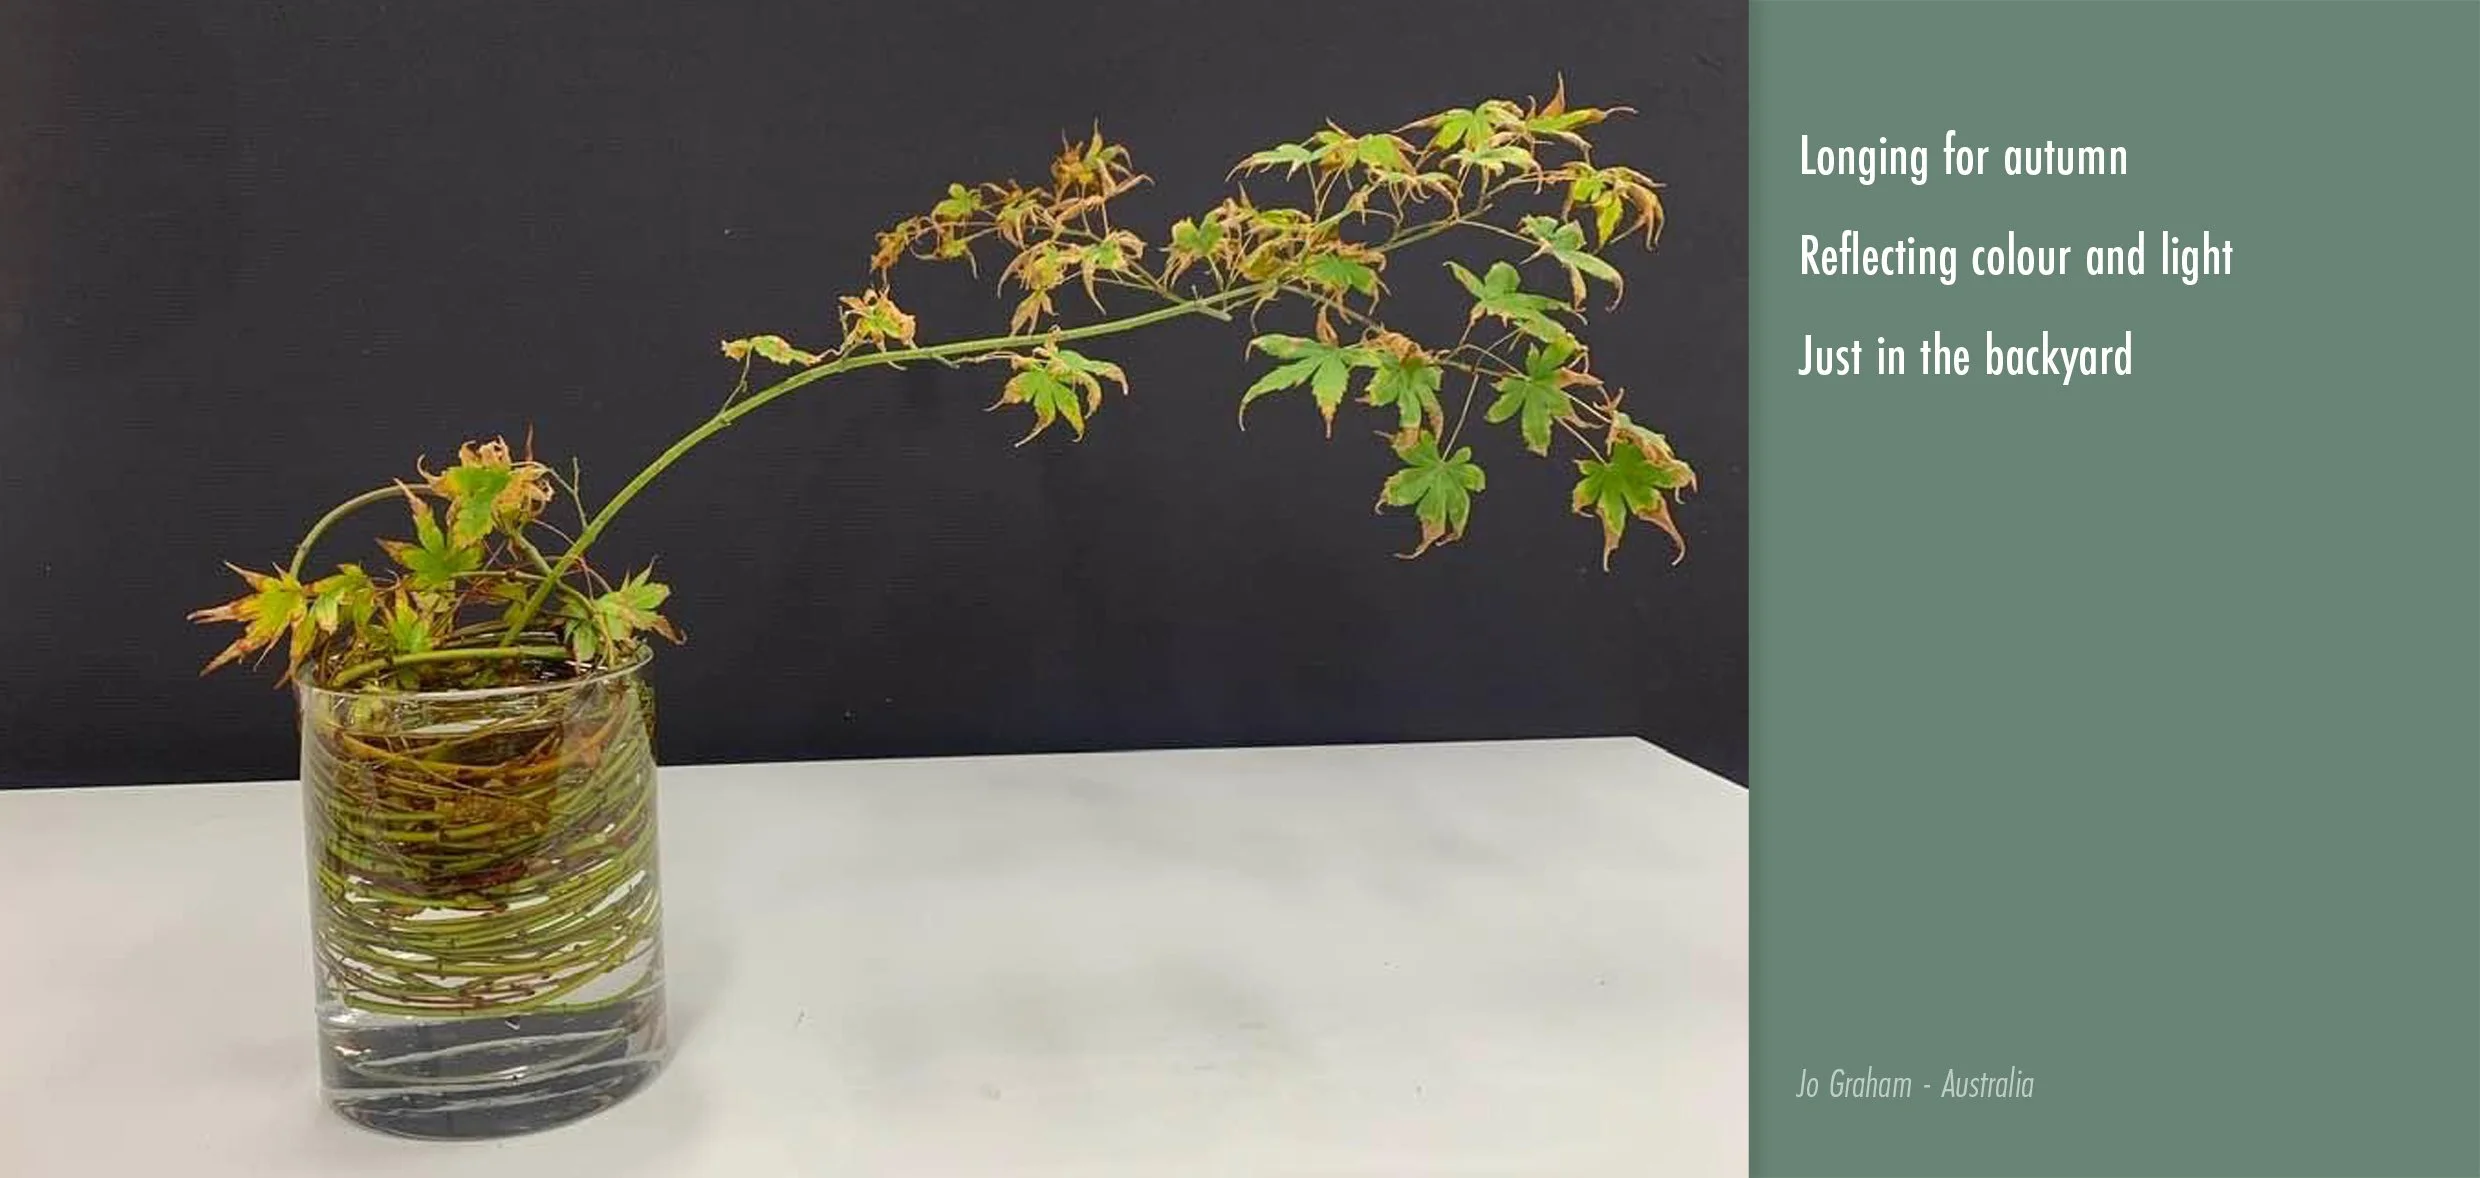
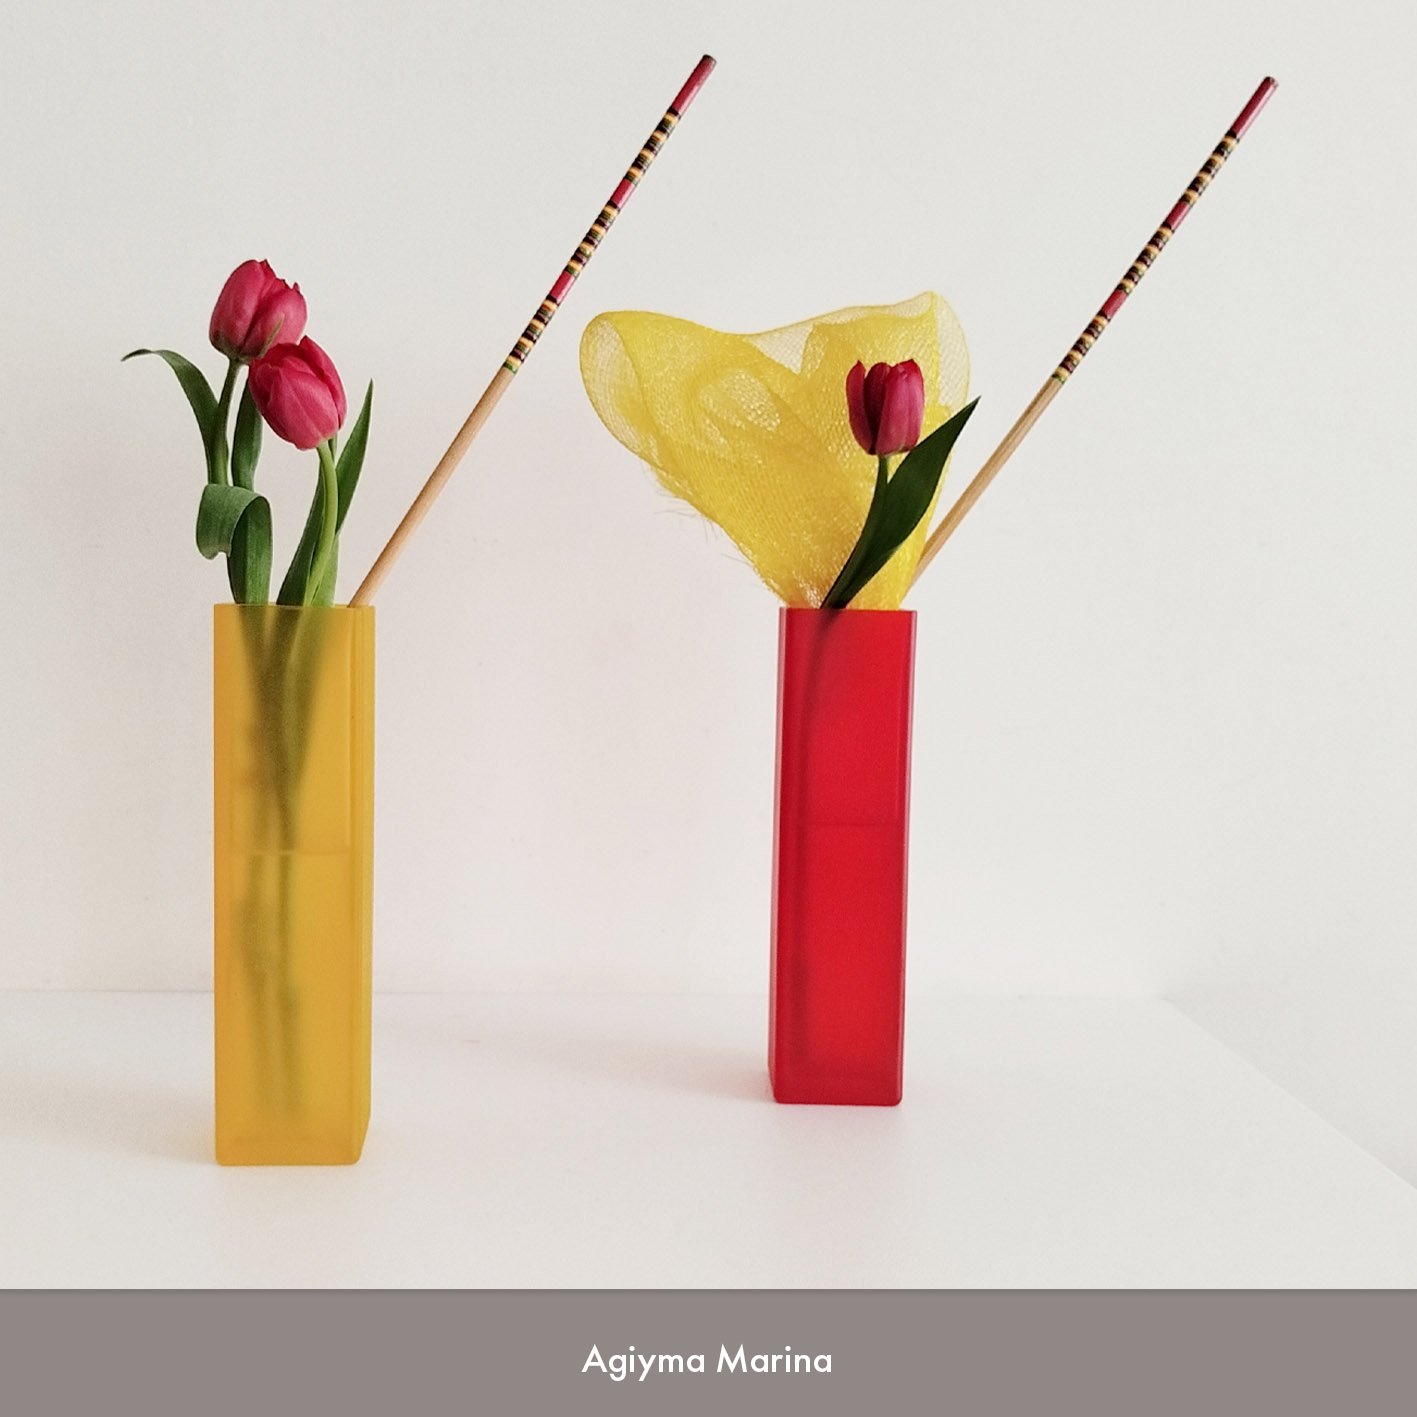
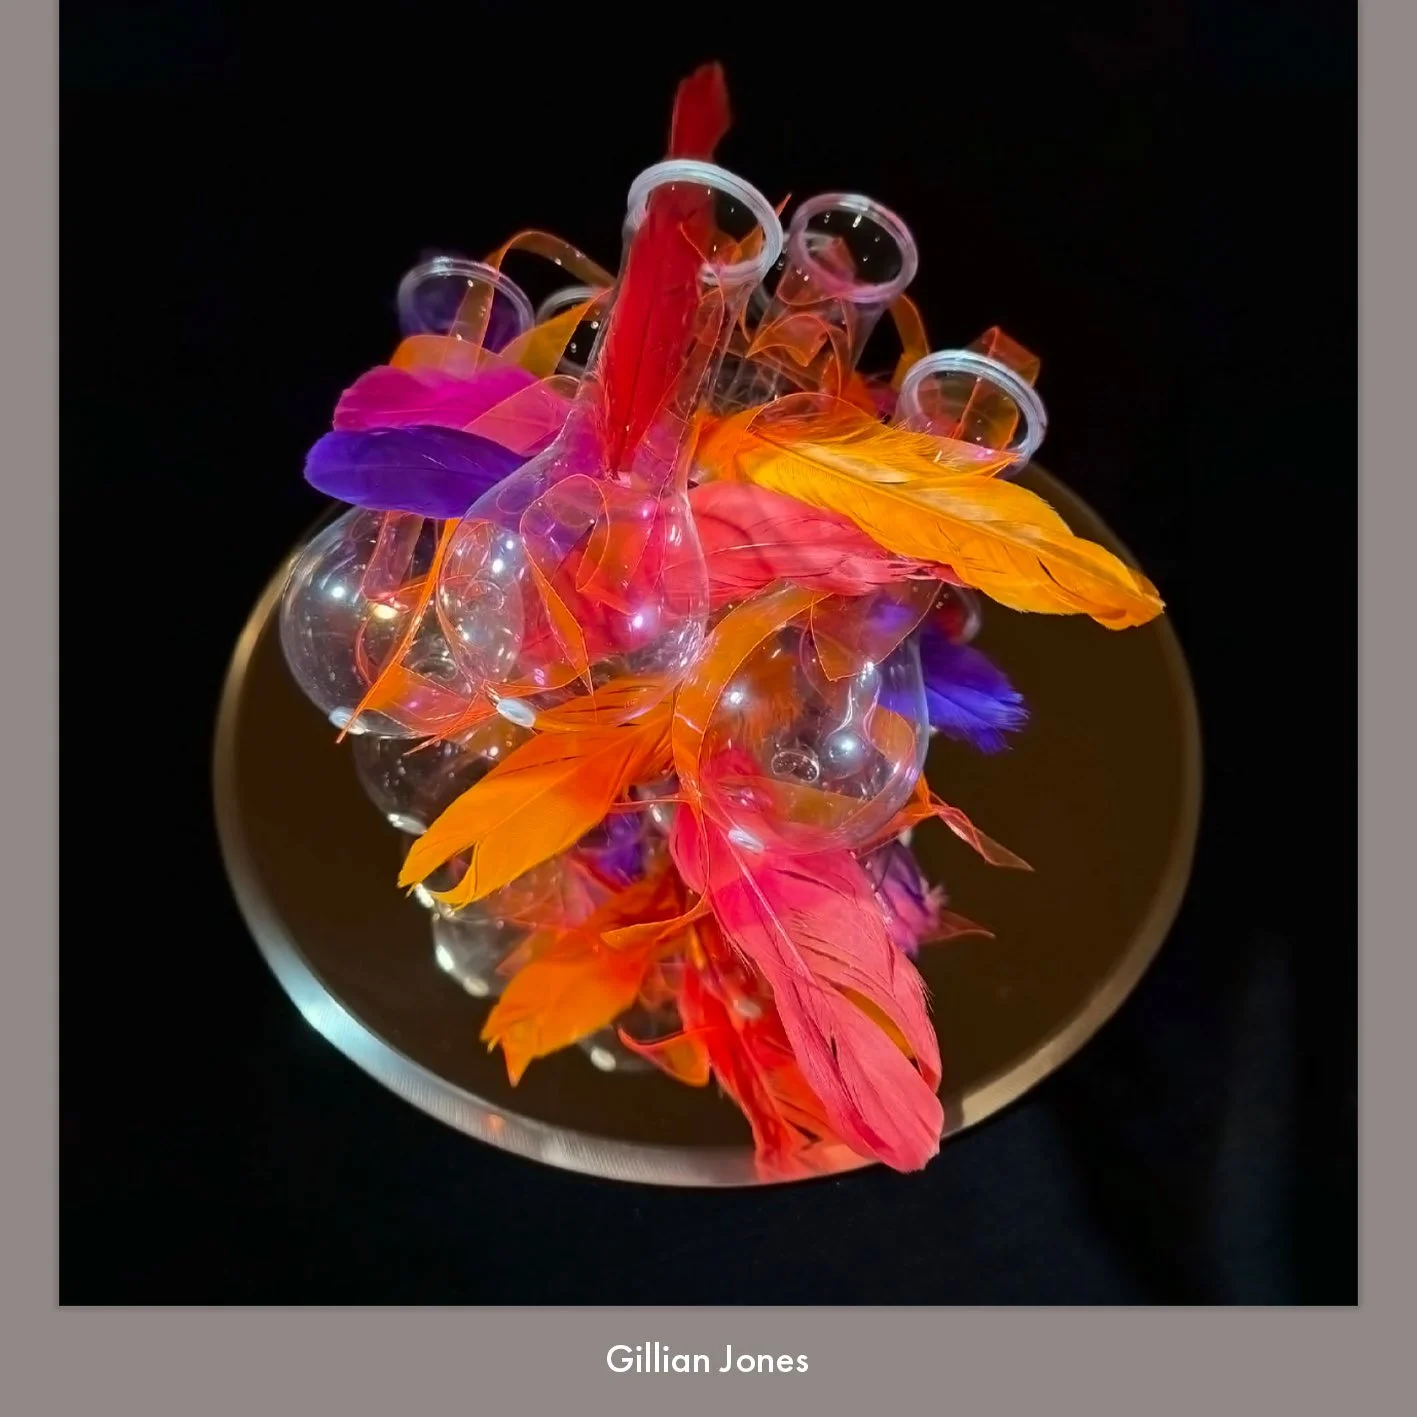
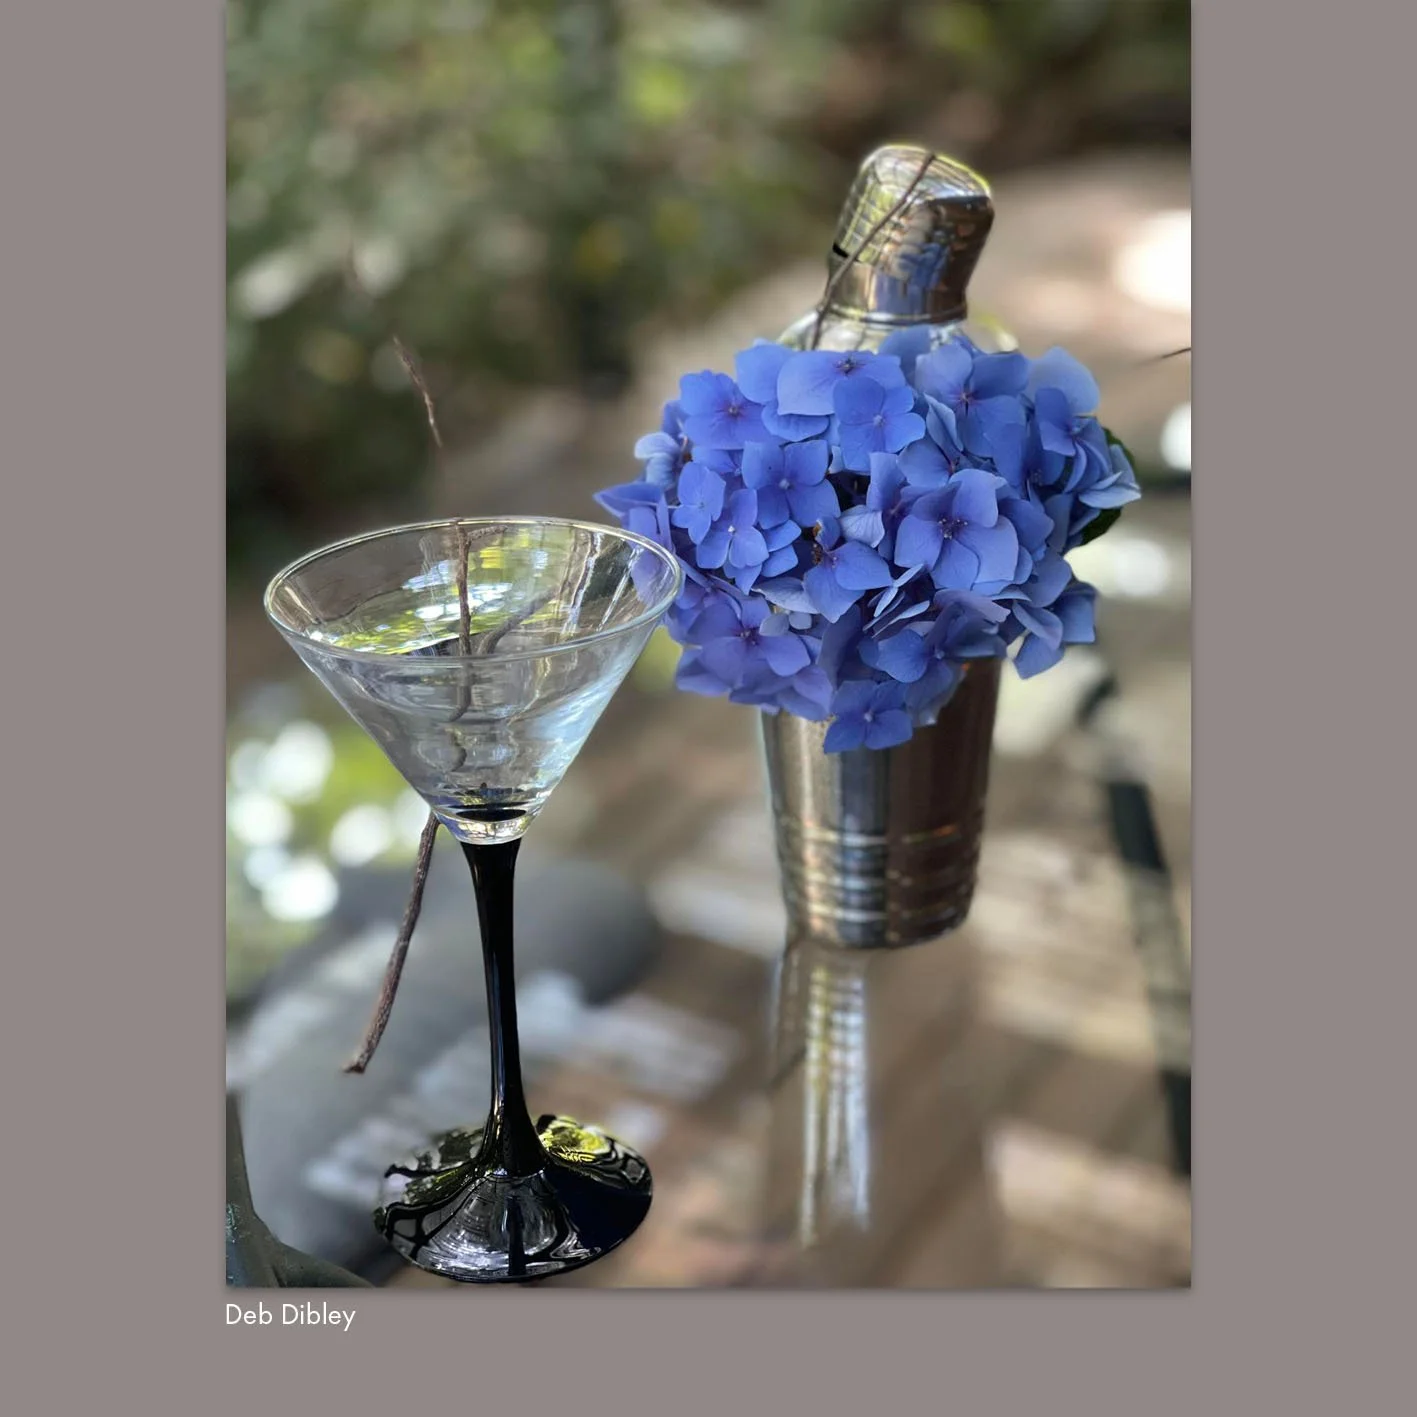
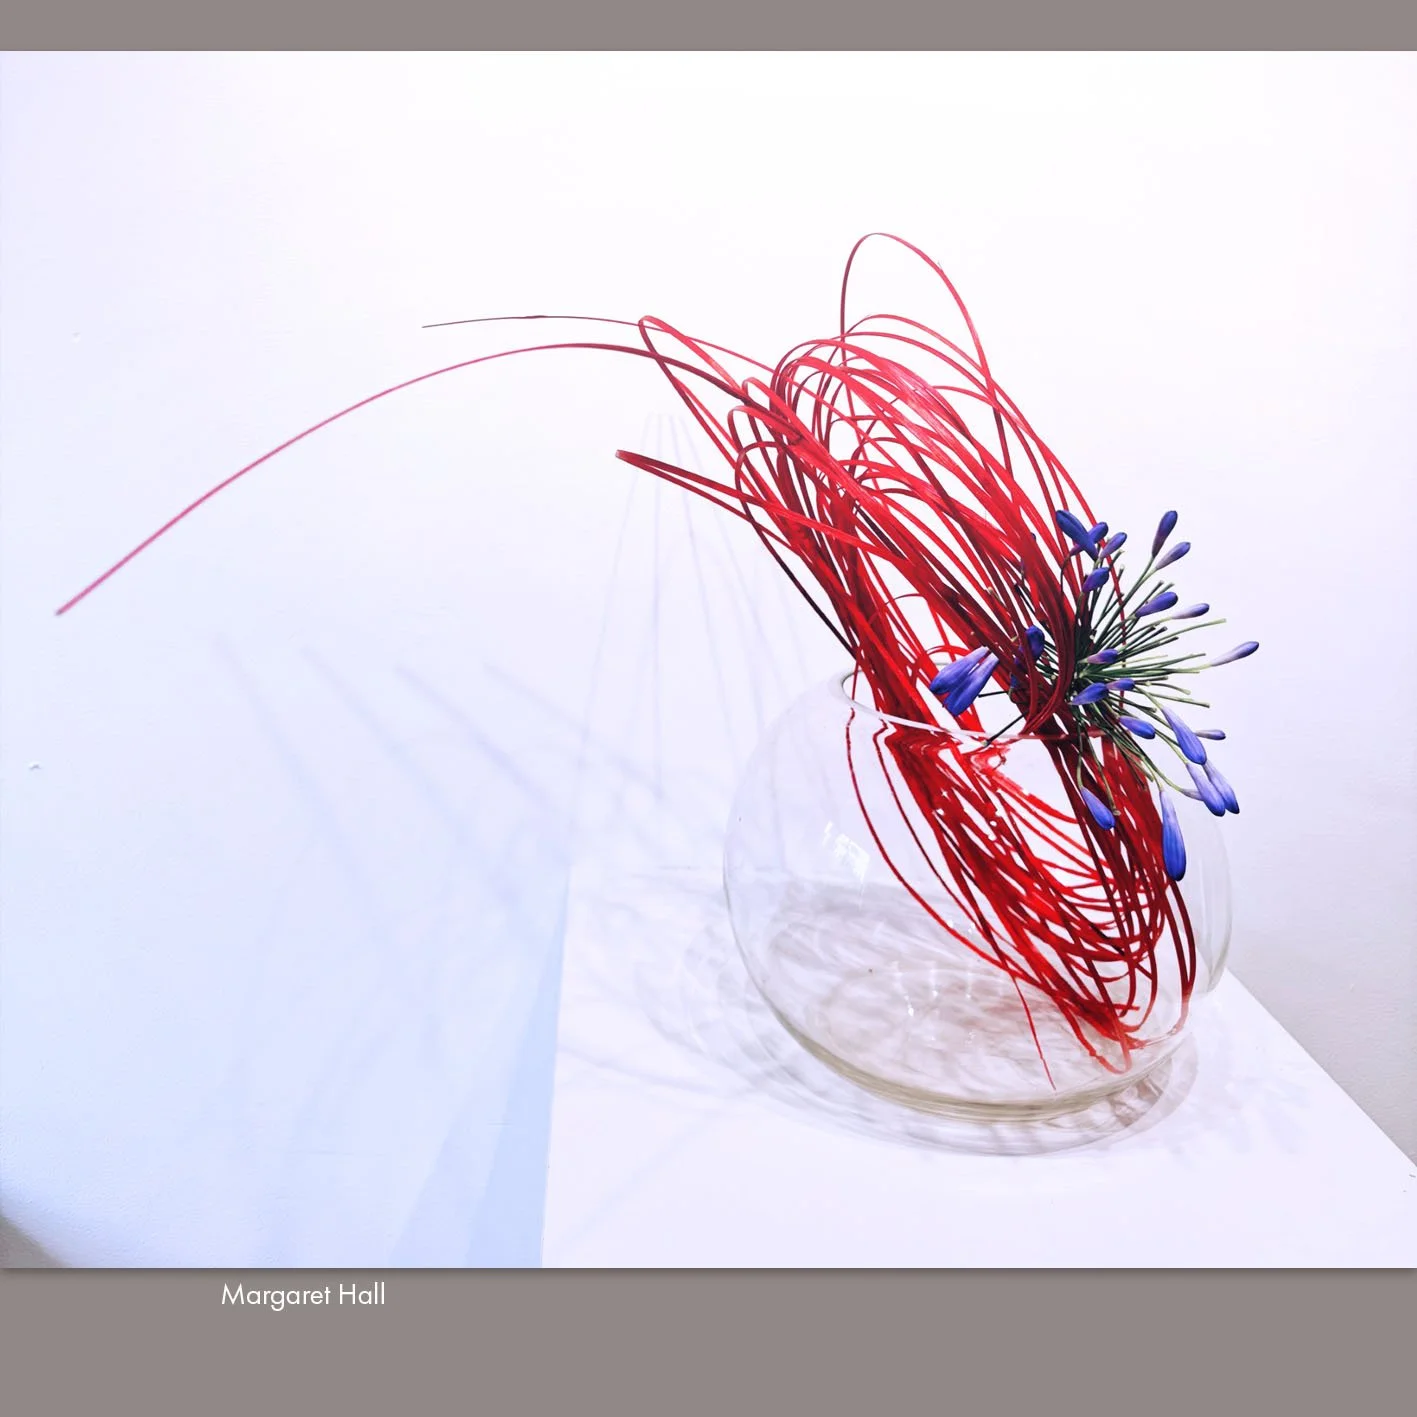
Reflection and refraction. When working in glass or containers that have glossy or reflective surfaces (as well as when placing your arrangement on a reflective or glossy surface) it is important to keep in mind a number of things.
What are you seeing in a reflection or refraction? Is it distracting or does it add an exciting dimension to the arrangement? What can be done to minimise any distraction it might be causing?
Sometimes a reflection or refraction will show something that is not intended in the final photograph. This could be a reflection of you as the photographer or someone/something else in the room. It could even be picking up a colour from a piece of furniture that looks suddenly out of place in your arrangement. Minimise these things by wearing darker, neutral tone clothing without bright patterns and tucking in your elbows as much as practical when photographing work. In the case of something else reflecting/refracting, you can try moving it somewhere else temporarily or covering it with a cloth or drape so as it’s not as conspicuous. If the reflection/refraction shows some other part of the arrangement be conscious that it can show things in magnification making elements seem larger than they are. In such cases it is doubly important that whatever is being shown is looking its best even if it is the back of a flower, leaf, stem or branch.
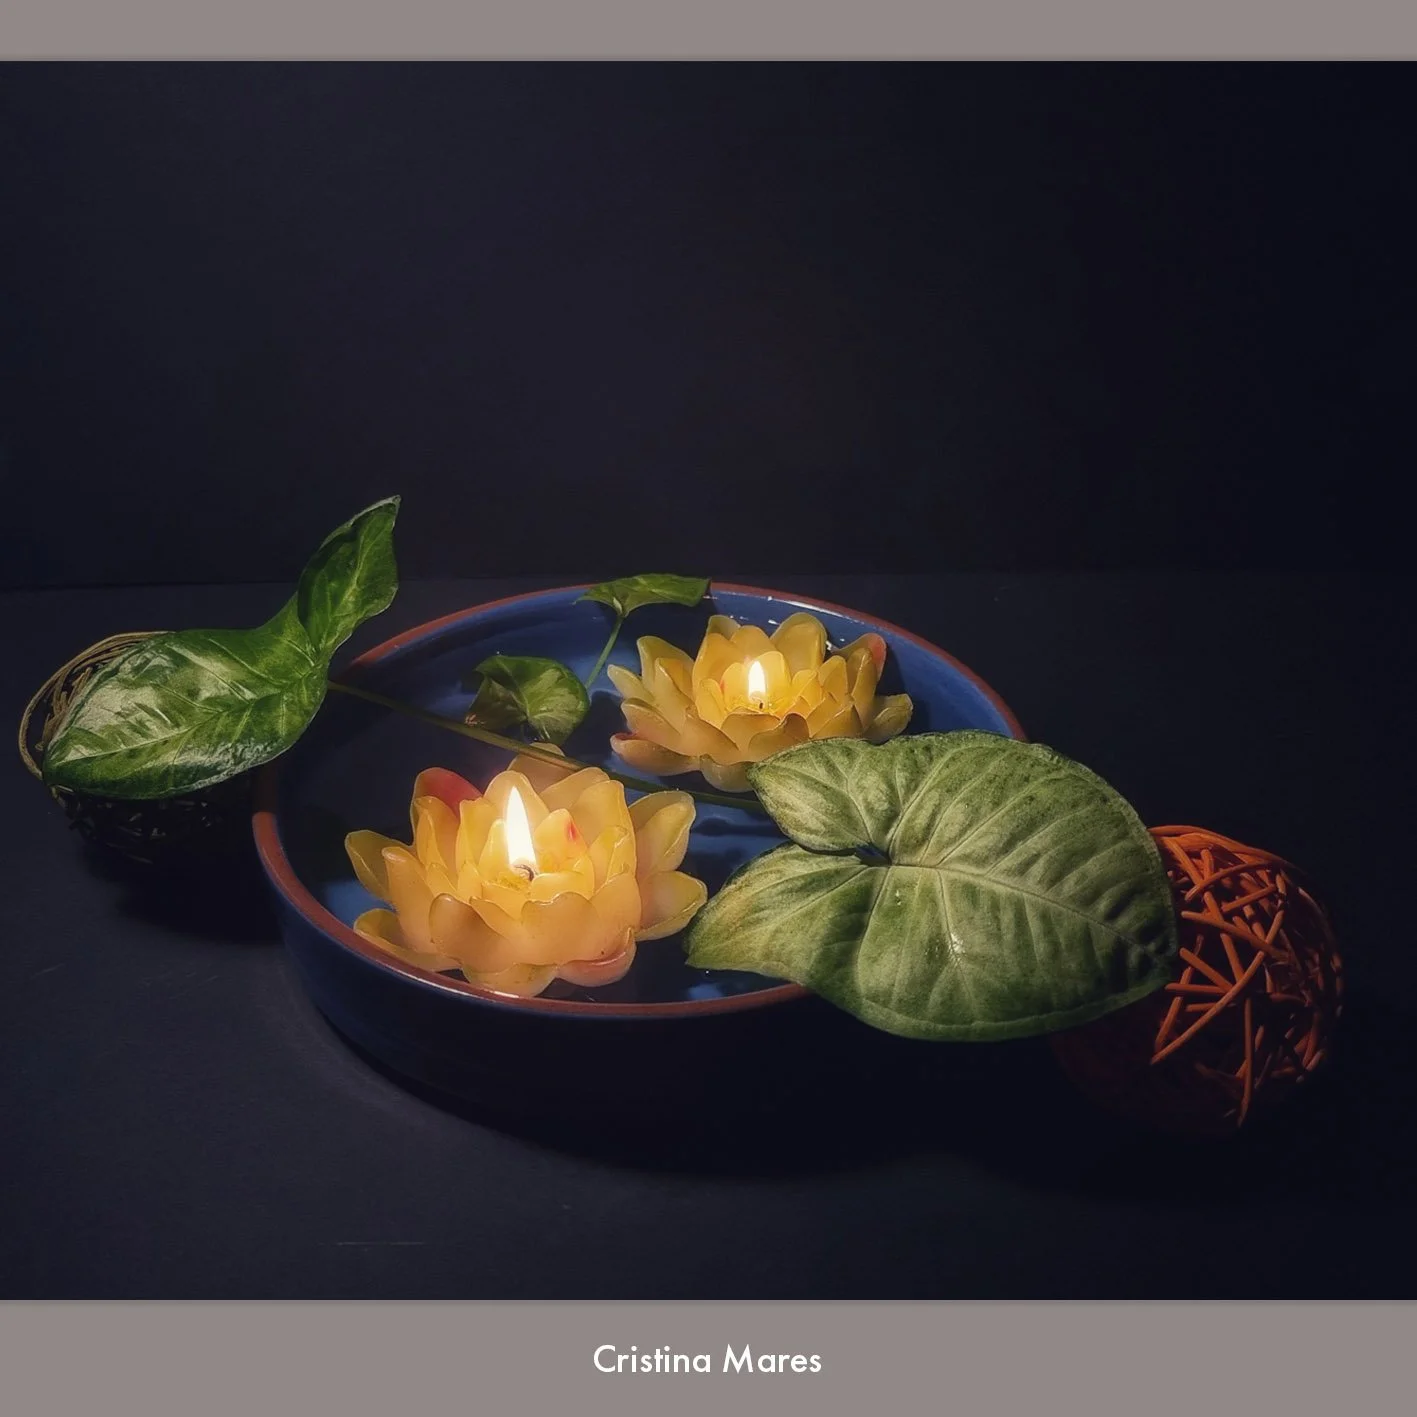
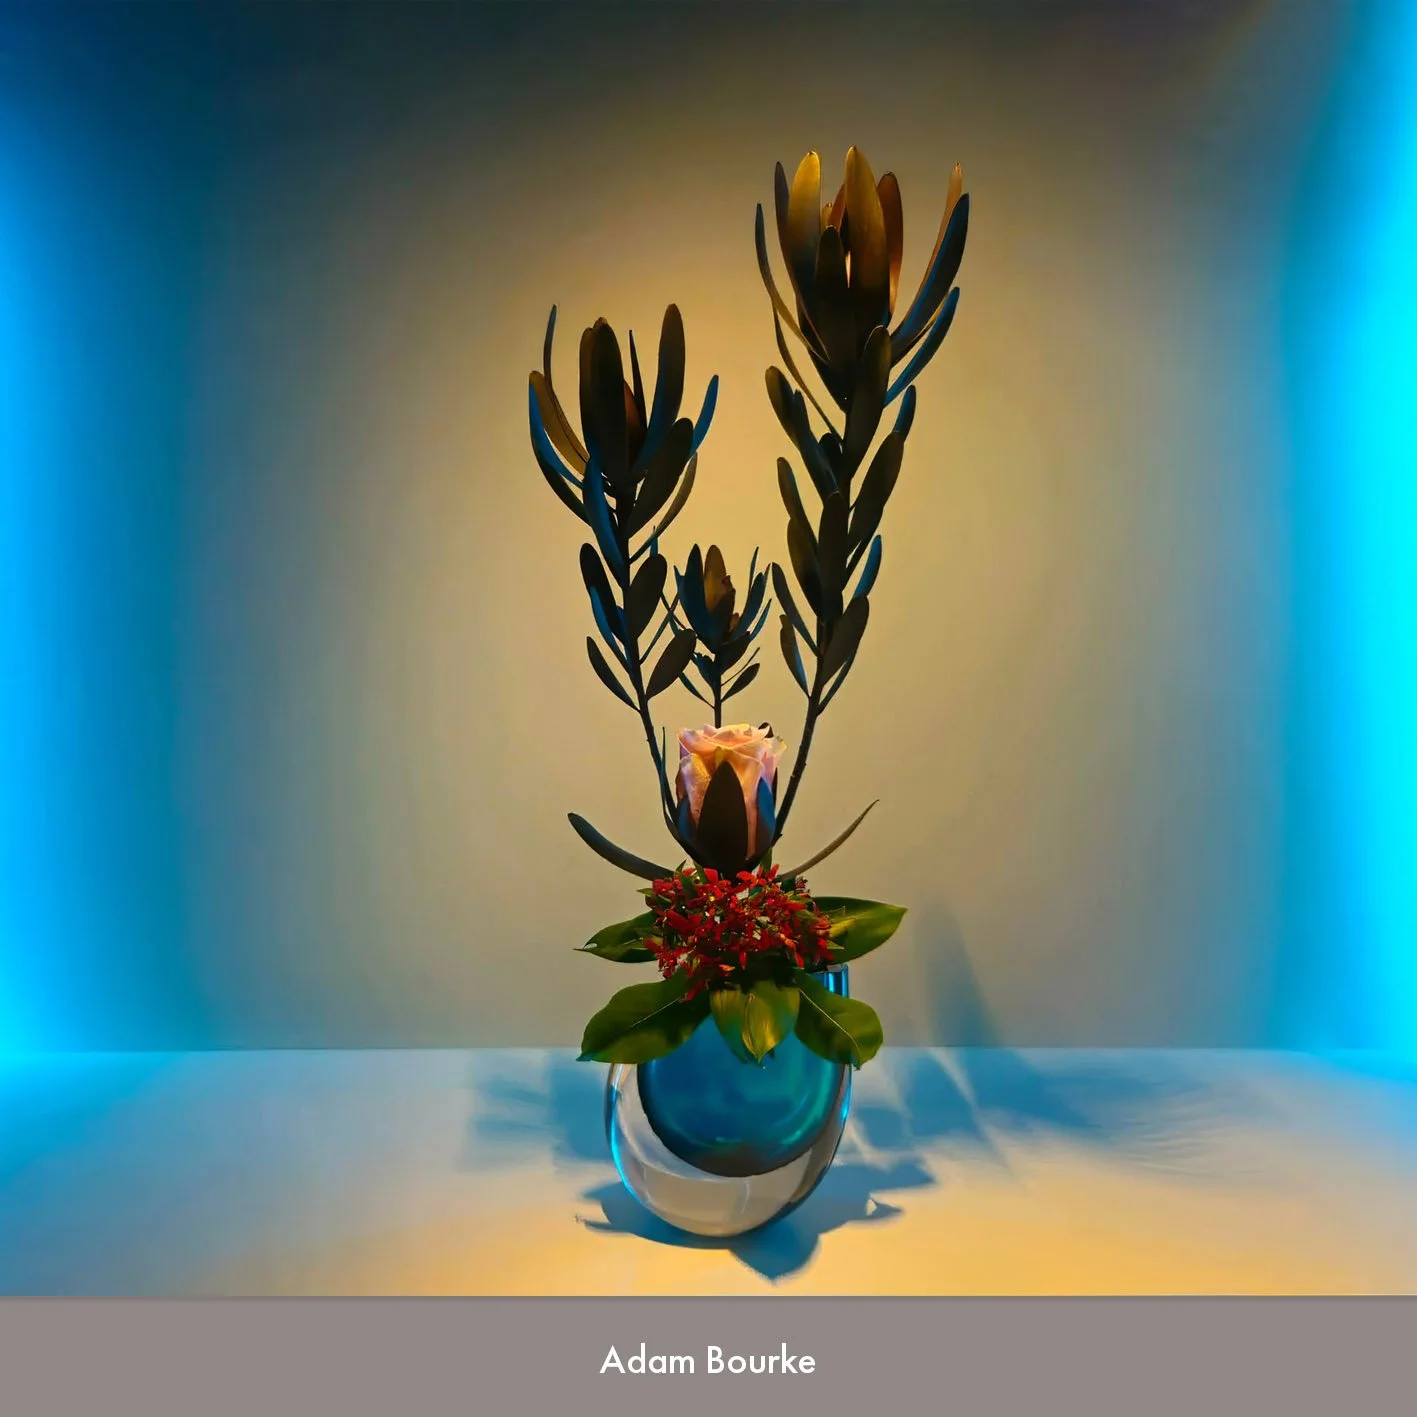
Adding an extra light, can really make an arrangement pop in the image. You can use something as simple as a desk lamp or even a torch. A second light source should always be an enhancement to the lighting rather than the main player. The second light source can work well from a side, from low down and even from behind or below. do some experiments and see what you like and what works best for the particular arrangement you’re photographing. Be sure to keep in mind all the other considerations mentioned in terms of light temperature, reflection, strong shadows and highlights, etc for any additional lights you might be using.